By Jessie Walthers, Conservation Program Manager Groundhog Day. Who doesn’t love this most random of…
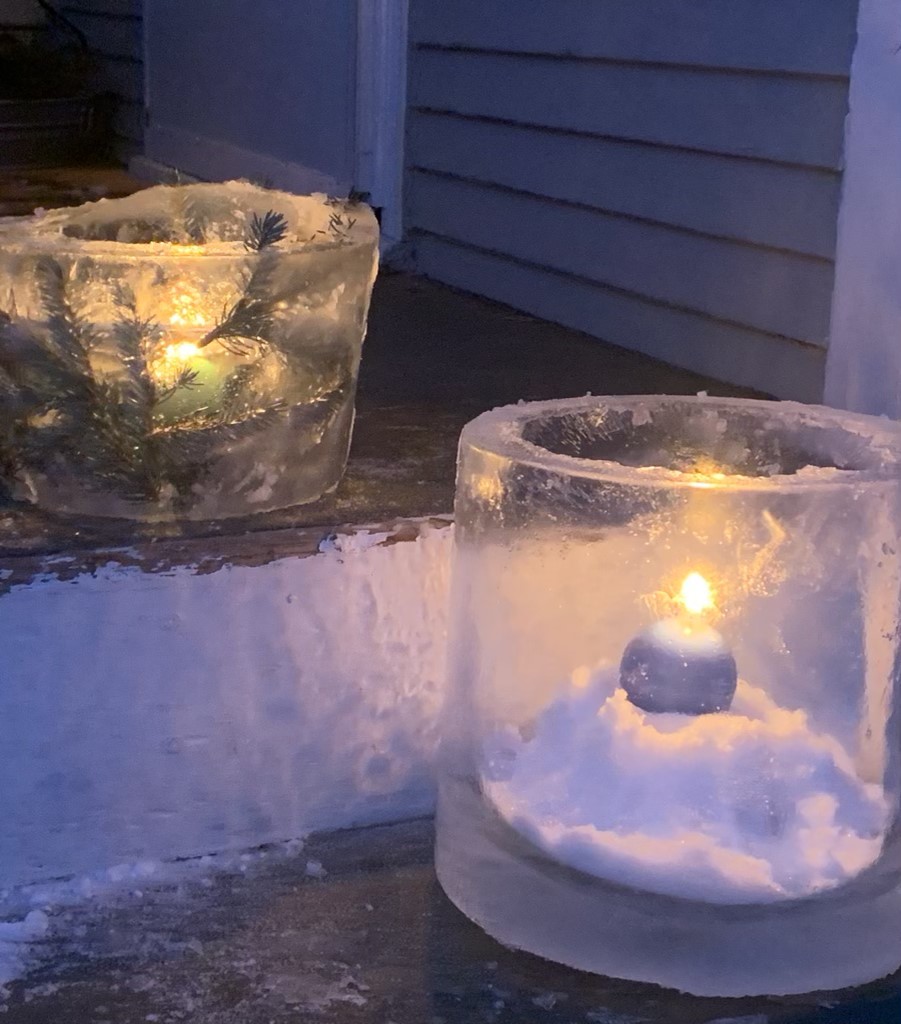
Ice Candles
Embrace the cold! Make something beautiful to celebrate the season.
By Jessie Walthers, Flathead Conservation District
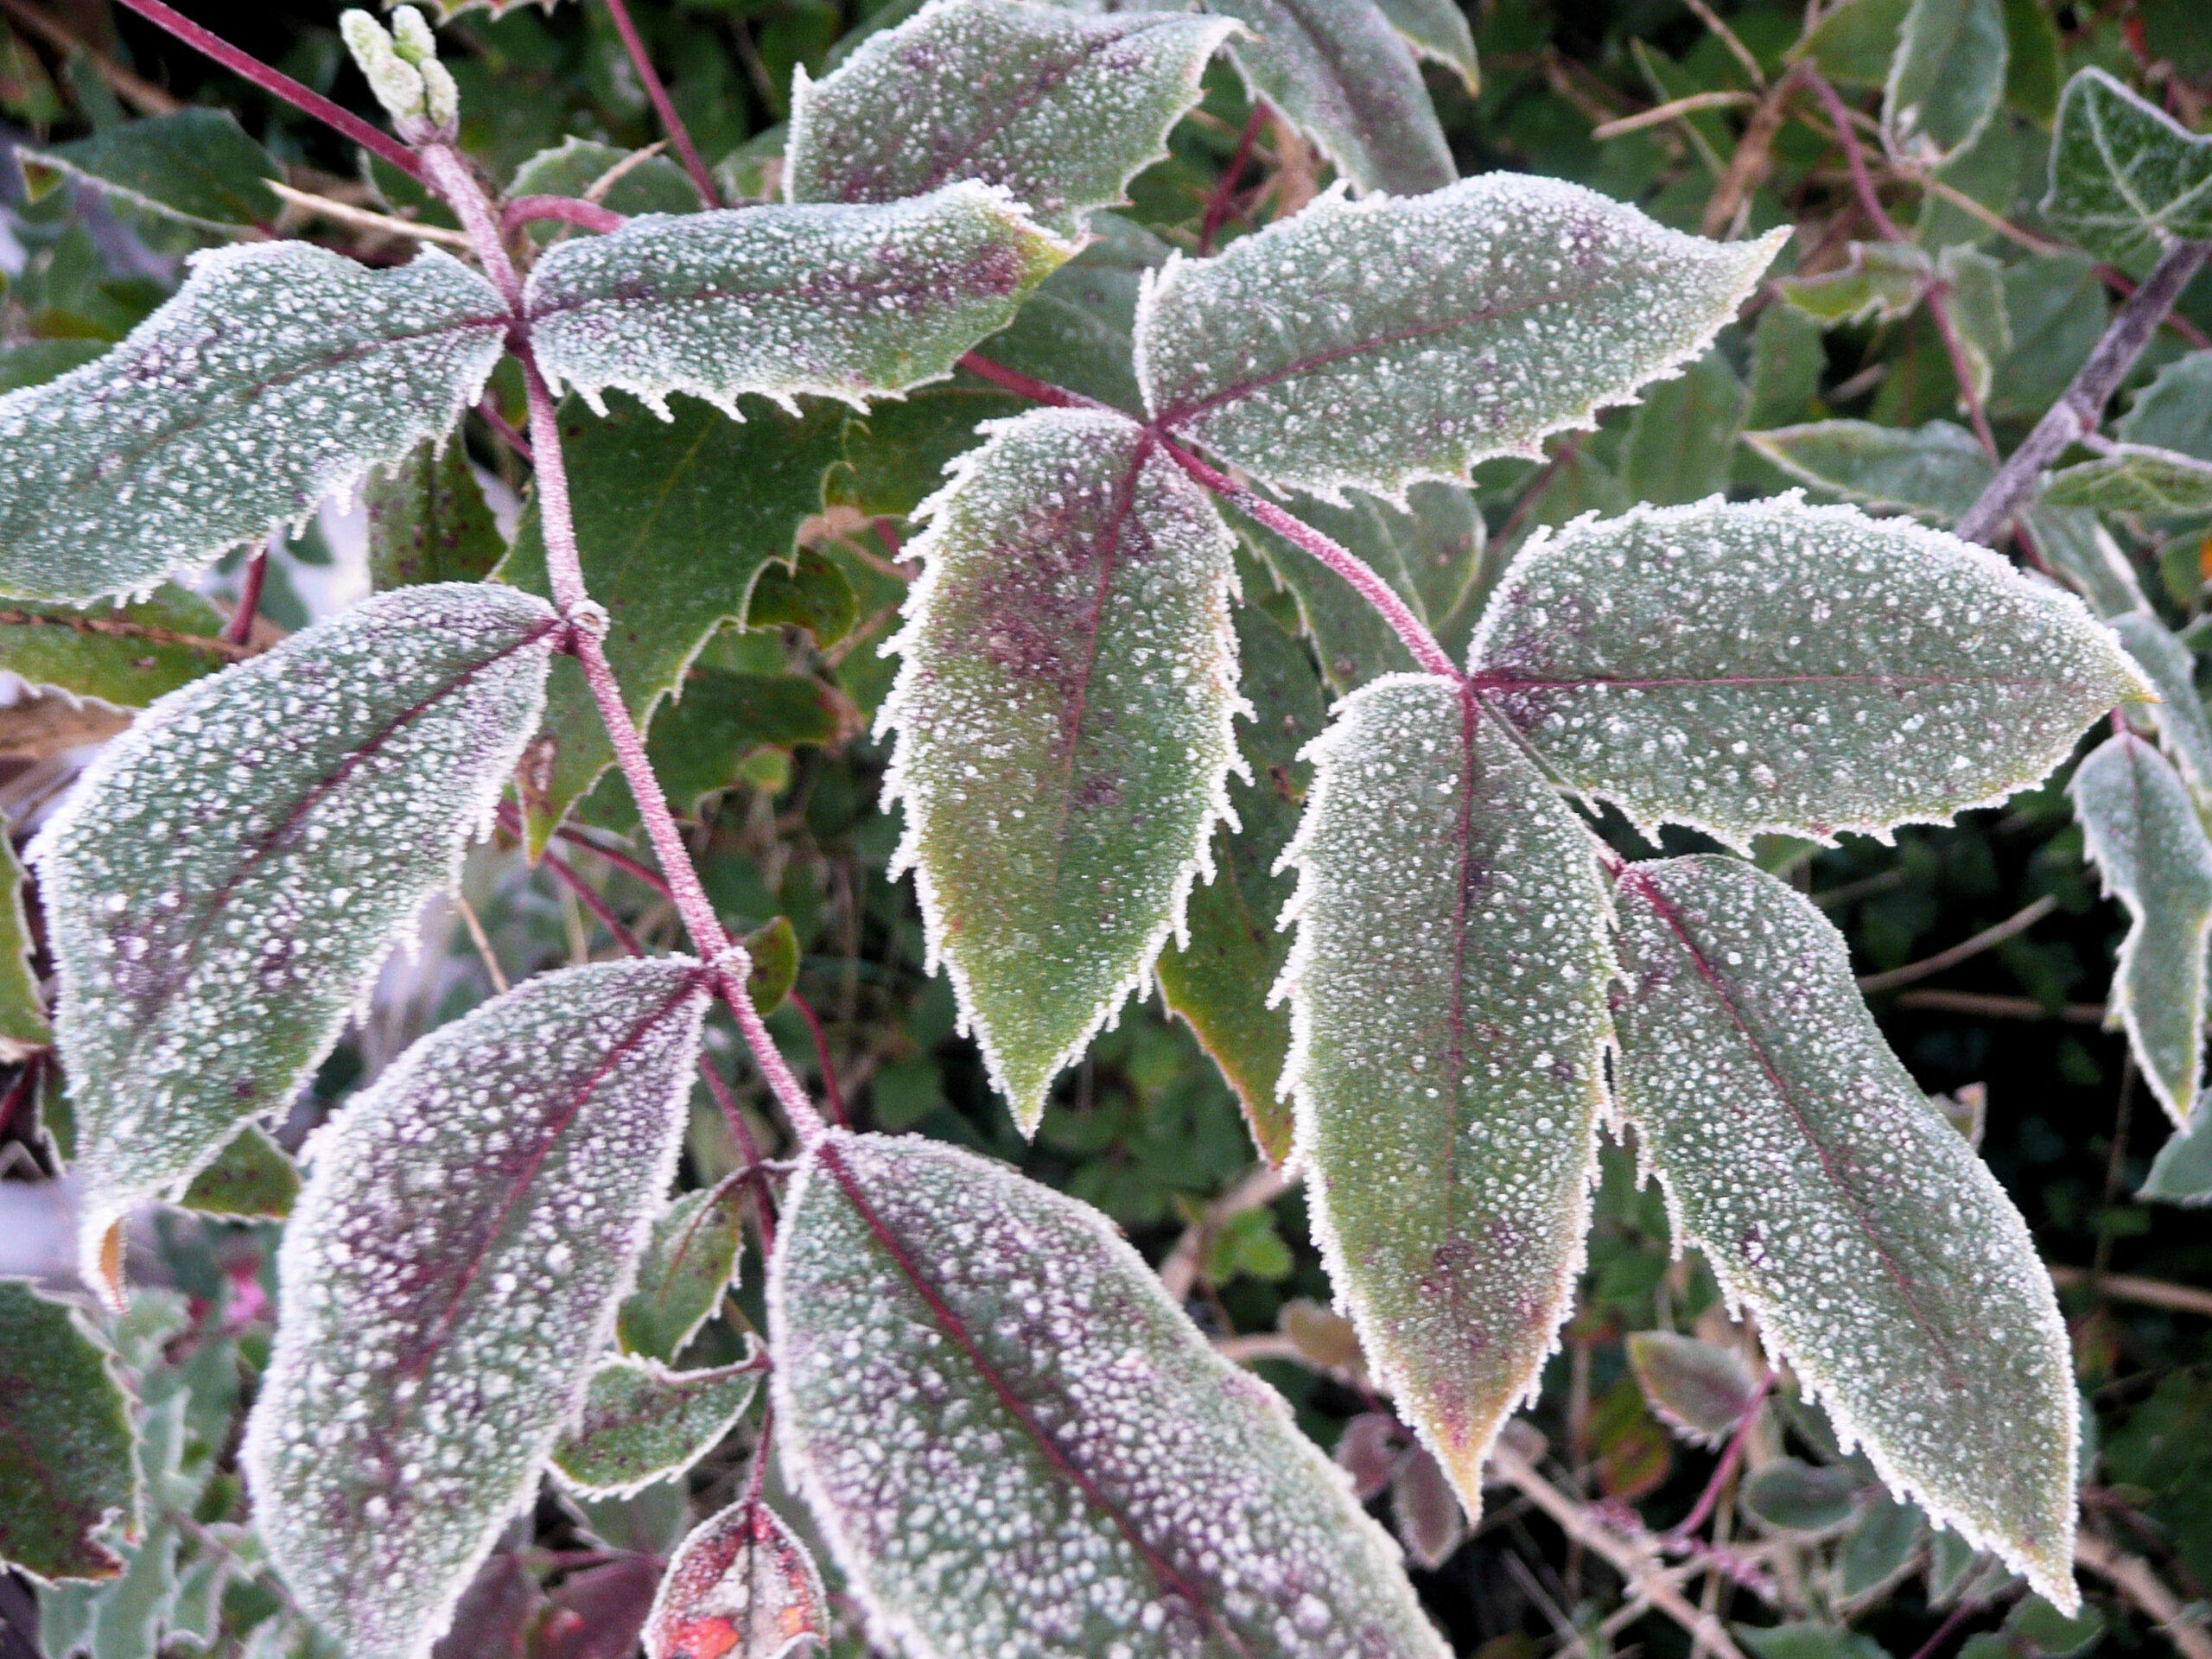
Winter came early this year!
Instead of lamenting warmer days gone by, why not bring some light and warmth to these cold, dark days of early winter with a beautiful project you can only make in the coldest of weather. Ice candles or ice lanterns, a tradition from Scandinavia, are a beautiful and simple craft you can make, most likely for free, if you have everything around your home. They are stunningly beautiful and require several days and nights of well-below-freezing temperatures to enjoy, so why not celebrate the cold and make this a new, special winter tradition!
Instructions
Basic Option:
Supplies: 5 gallon bucket, water, candle (short, stout shape), long match
To make: Fill a 5 gallon bucket with water most of the way, leaving a few inches at the top. Place outside to freeze, but not all the way solid. Depending on the temperature outside, it should take overnight or the better part of a well-below-freezing day. When a thick layer of ice forms over the top and down the insides (several inches deep and thick) bring inside briefly to melt just enough so the ice will slide out of the bucket. Bring the bucket back outside and gently slide the ice out into your yard by tipping the bucket on its side. Some unfrozen water will flow out, so do this in a place you don’t mind water flowing and refreezing. When you start to slide it out of the bucket, if it’s not thick enough, just leave it outside longer to freeze more.
Once the candle is out of the bucket, turn over so the frozen end (which was the top of the bucket) is now the bottom of your candle or lantern. Place some snow on the bottom of the lantern inside, as a base to secure the candle. Place your candle inside the ice lantern (real or fake candles will work). A short, stout type candle works best; it can even already be in a glass holder. Use a long match to light. Turn out all other lights… and enjoy the wonder!
Make during a cold spell so you can enjoy your candle over several days! Place out of the wind so the candle will stay lit longer.
Decorative Option:
Supplies: larger bucket any size, smaller bucket or container (without a handle), pine boughs, berries, pinecones, other winter natural objects, several small rocks, ruler or yardstick, water.
To make: Use any size bucket and find a slightly smaller and shorter container to fit inside (one that allows several inches of space in between the two). Tupperware or round plastic food containers work. Metal or plastic are fine. Make sure the smaller container does not have a handle.
Set the smaller container inside the larger, add water to the space between the two buckets. Place several rocks inside the smaller container so its top rests level with the top of the larger container, so it’s not floating freely, but not sitting on the bottom of the larger container. Adjust with rocks as needed so the two tops are level. You can also take a ruler or yardstick and lay it across the top of the two containers, place rocks on the ruler to hold the top of the smaller container steady. You could also use tape to hold the smaller container level with the larger at the top.
Place pine cones, leaves, berries, bits of pine, spruce or fir boughs inside the space between the two containers, in the water. Don’t pack too densely, so the light will shine through. Make sure they are not sticking out over the top of the containers, but just fitting inside the sides. Adjust the rocks as needed to keep the inside bucket floating, but not rising above the larger at the rim, and not setting on the bottom of the larger container.
Set outside to freeze entirely.
Once frozen, bring inside briefly to loosen so the ice will slide out. This option doesn’t need to be tipped over; the bottom is already the bottom.
Bring back outside. Set your candle inside the holder, again use some snow to make a stable base for the candle inside. Light your candle and enjoy!
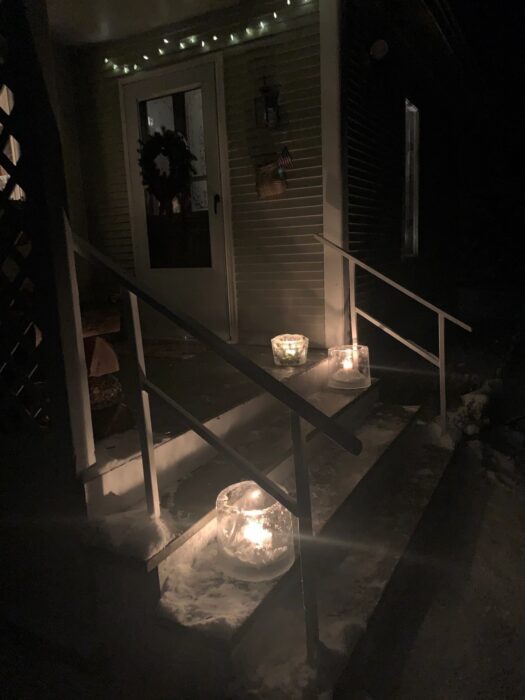
A few samples from the author’s porch last winter:

Happy winter, bundle up and enjoy the special beauty of the season!
There are many useful videos online for these projects. Here are a few that are simple and give a good overview and a good visual of the process.
Decorative option:
Basic option:
Related Posts